A Basic Guide To Photographing Your Artwork Using Your Camera Phone

Our Exhibitions Coordinator Ella, has put together this short guide on how to photograph your artwork using your camera phone..
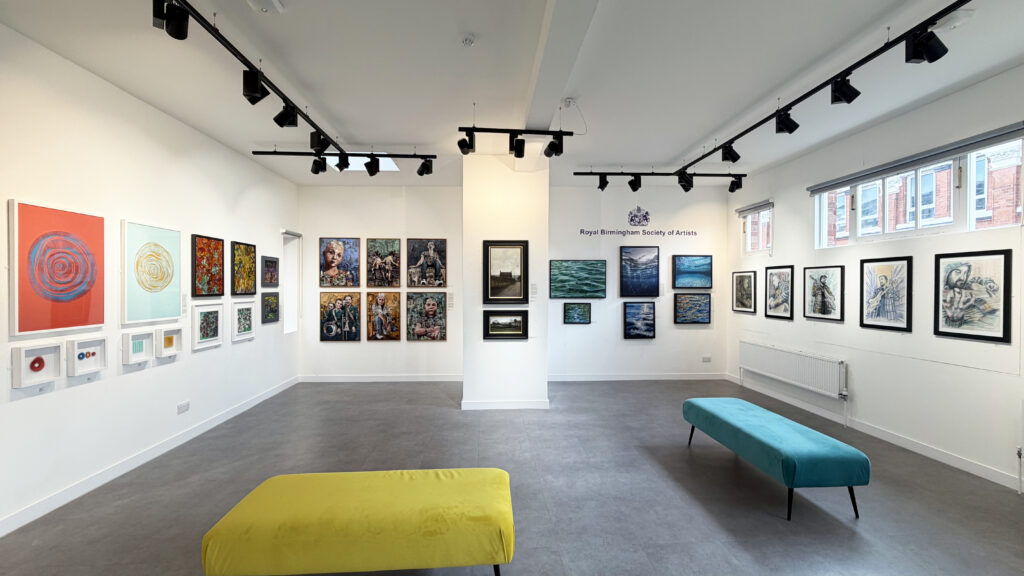
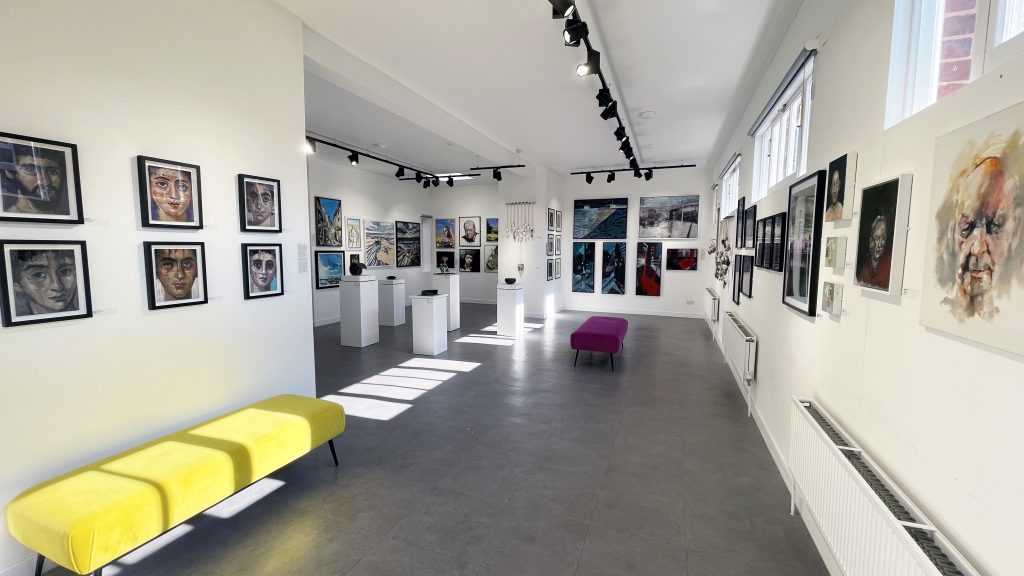
Since the beginning of the pandemic in 2020, the RBSA have been displaying exhibitions both online as well as in the Gallery. This allows a wider audience to view and access our current exhibitions. How art is observed, consumed, and shared has shifted and many use an online platform to exhibit, share and promote their art.
As well as visiting the exhibition in person, many view the digital version first and we regularly see sales through exhibiting artist’s work online. Our open call exhibitions are judged through online image submission only. Therefore, it is essential that artists photograph their work effectively when entering exhibitions.
I have written a short basic how-to guide as well as including some helpful tips for artists. Using a camera to take images of artwork are recommended. However, if you don’t have one, a camera phone will work just fine. You will need a camera phone with at least 8 megapixels, (most smart phones have this).
If you can take an image of your work before it is framed, this is better. Framed works are harder to photograph, due to the light reflecting off the glass.

Taking the image:
1. Firstly, before you photograph your work, read the exhibition’s application pack. There may be special image requirements for the exhibition.
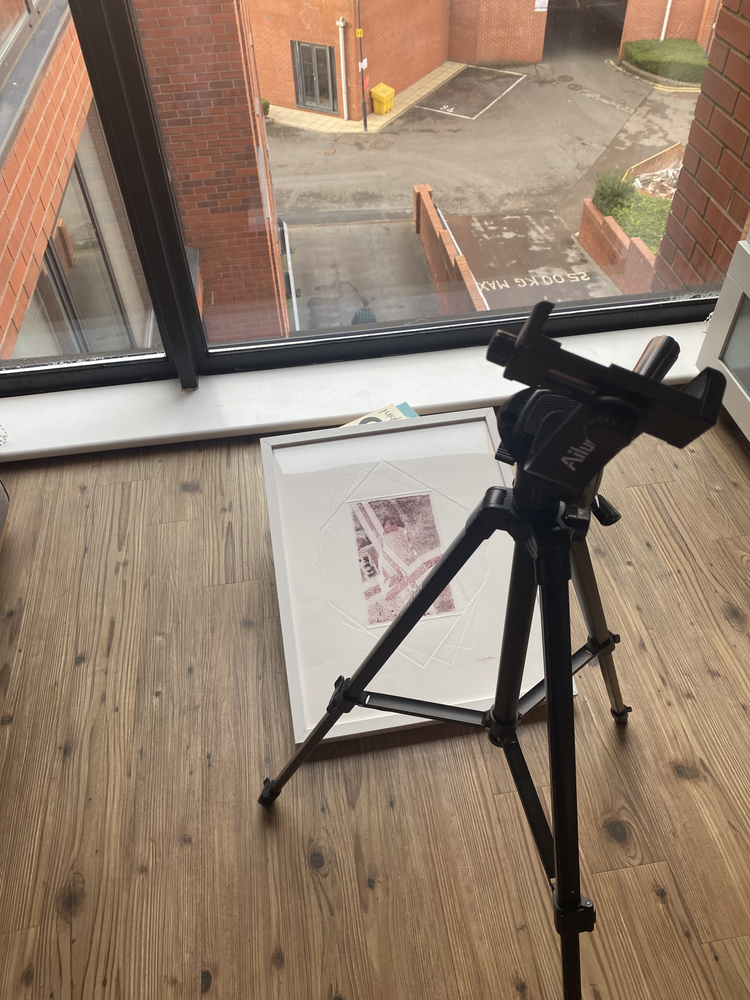
2. Find a clear space, either the floor in your home or a clear table. Ensure this space is next to natural light, a big window is perfect.

3. If your work is framed, clean the glass. Your camera will pick up any bits or fingerprints on the glass.
4. Rest your artwork at around a 45-degree angle, the artwork titled downwards away from the natural light. On this occasion, I have used a stack of books to get the angle.

5. Get close up to your work. The closer you are the better image you will take. We recommend photographing just the artwork, don’t worry about getting the frame in. Ensure there are no objects or anything to distract the image.
6. Using your camera phone, play with taking an image from directly above. If there is reflection, slowly move your camera phone down until you see no obvious harsh reflection. This will be different for everyone, and I recommend you taking your time and take lots of photos, you can go through and choose the best one at the end.
7. Don’t worry about small reflections if you have any.
8. Don’t be shy and edit your photos. If your image needs cropping or the brightness adjusting slightly – do it! You are only allowed to submit one image per 2D artwork, so it has to show your artwork at it’s best.

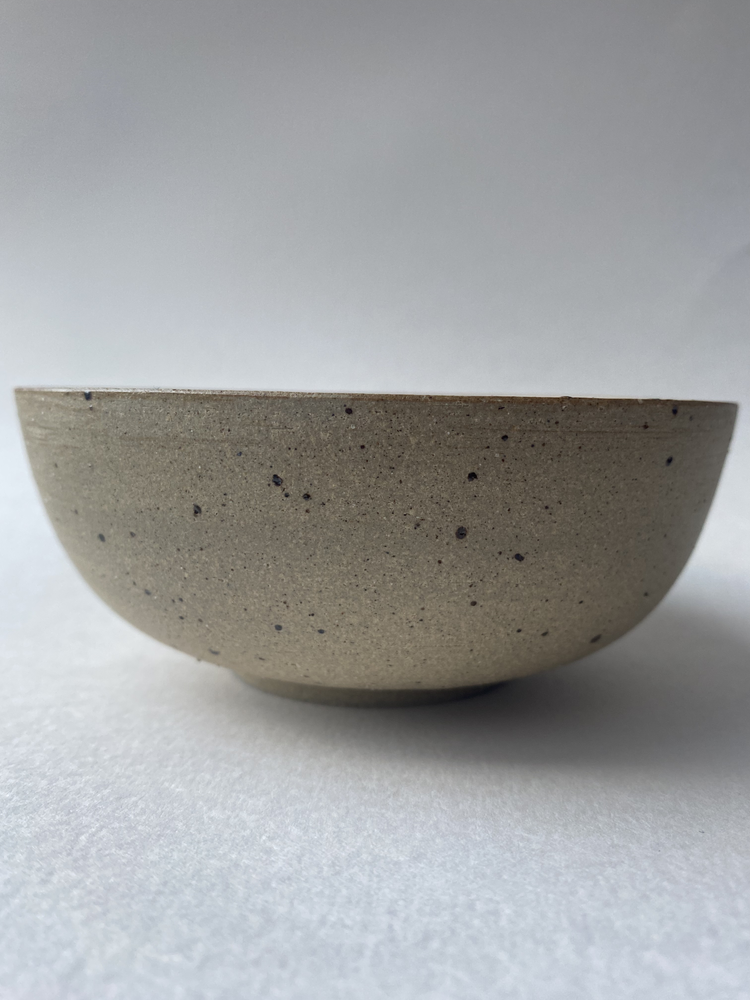
TIP: 3D artists are encouraged to submit two photographs of their work. This allows the judging panel, (if the exhibition is an open call) and the audience to view the art piece from two different angles. When photographing your 3D work, the same method applies. However, finding a white/plain backdrop is essential. Using a sheet of card works well.


FYI: Digital image files must be jpg, tiff or png format. If your image has a different format, please contact the Gallery and we can assist.
FYI: Your image needs to be at least 1000px this is around 3-4MB.
FYI: Your filenames must include the artist’s name and title of artwork. You can rename your file easily by right clicking on the image in your browser and clicking ‘Rename’
I hope this short guide helps! If you are struggling to take images of your work, the Gallery staff are here to help. Drop us an email at exhibitions@rbsa.org.uk